Using Silverstripe as “headless”
“Headless” is a word that has been circulating the web for quite some time now, but what does it actually mean? And why and when would you want to go with a headless solution for your website?
"Headless" is a word that has been circulating the web for quite some time now, but what does it actually mean? And why and when would you want to go with a headless solution for your website?
In this post I will try to explain what headless is and when to choose or not to choose that solution, and also provide a simple guide on how you could get started with using Silverstripe as headless by using GraphQL-endpoints to display your data.
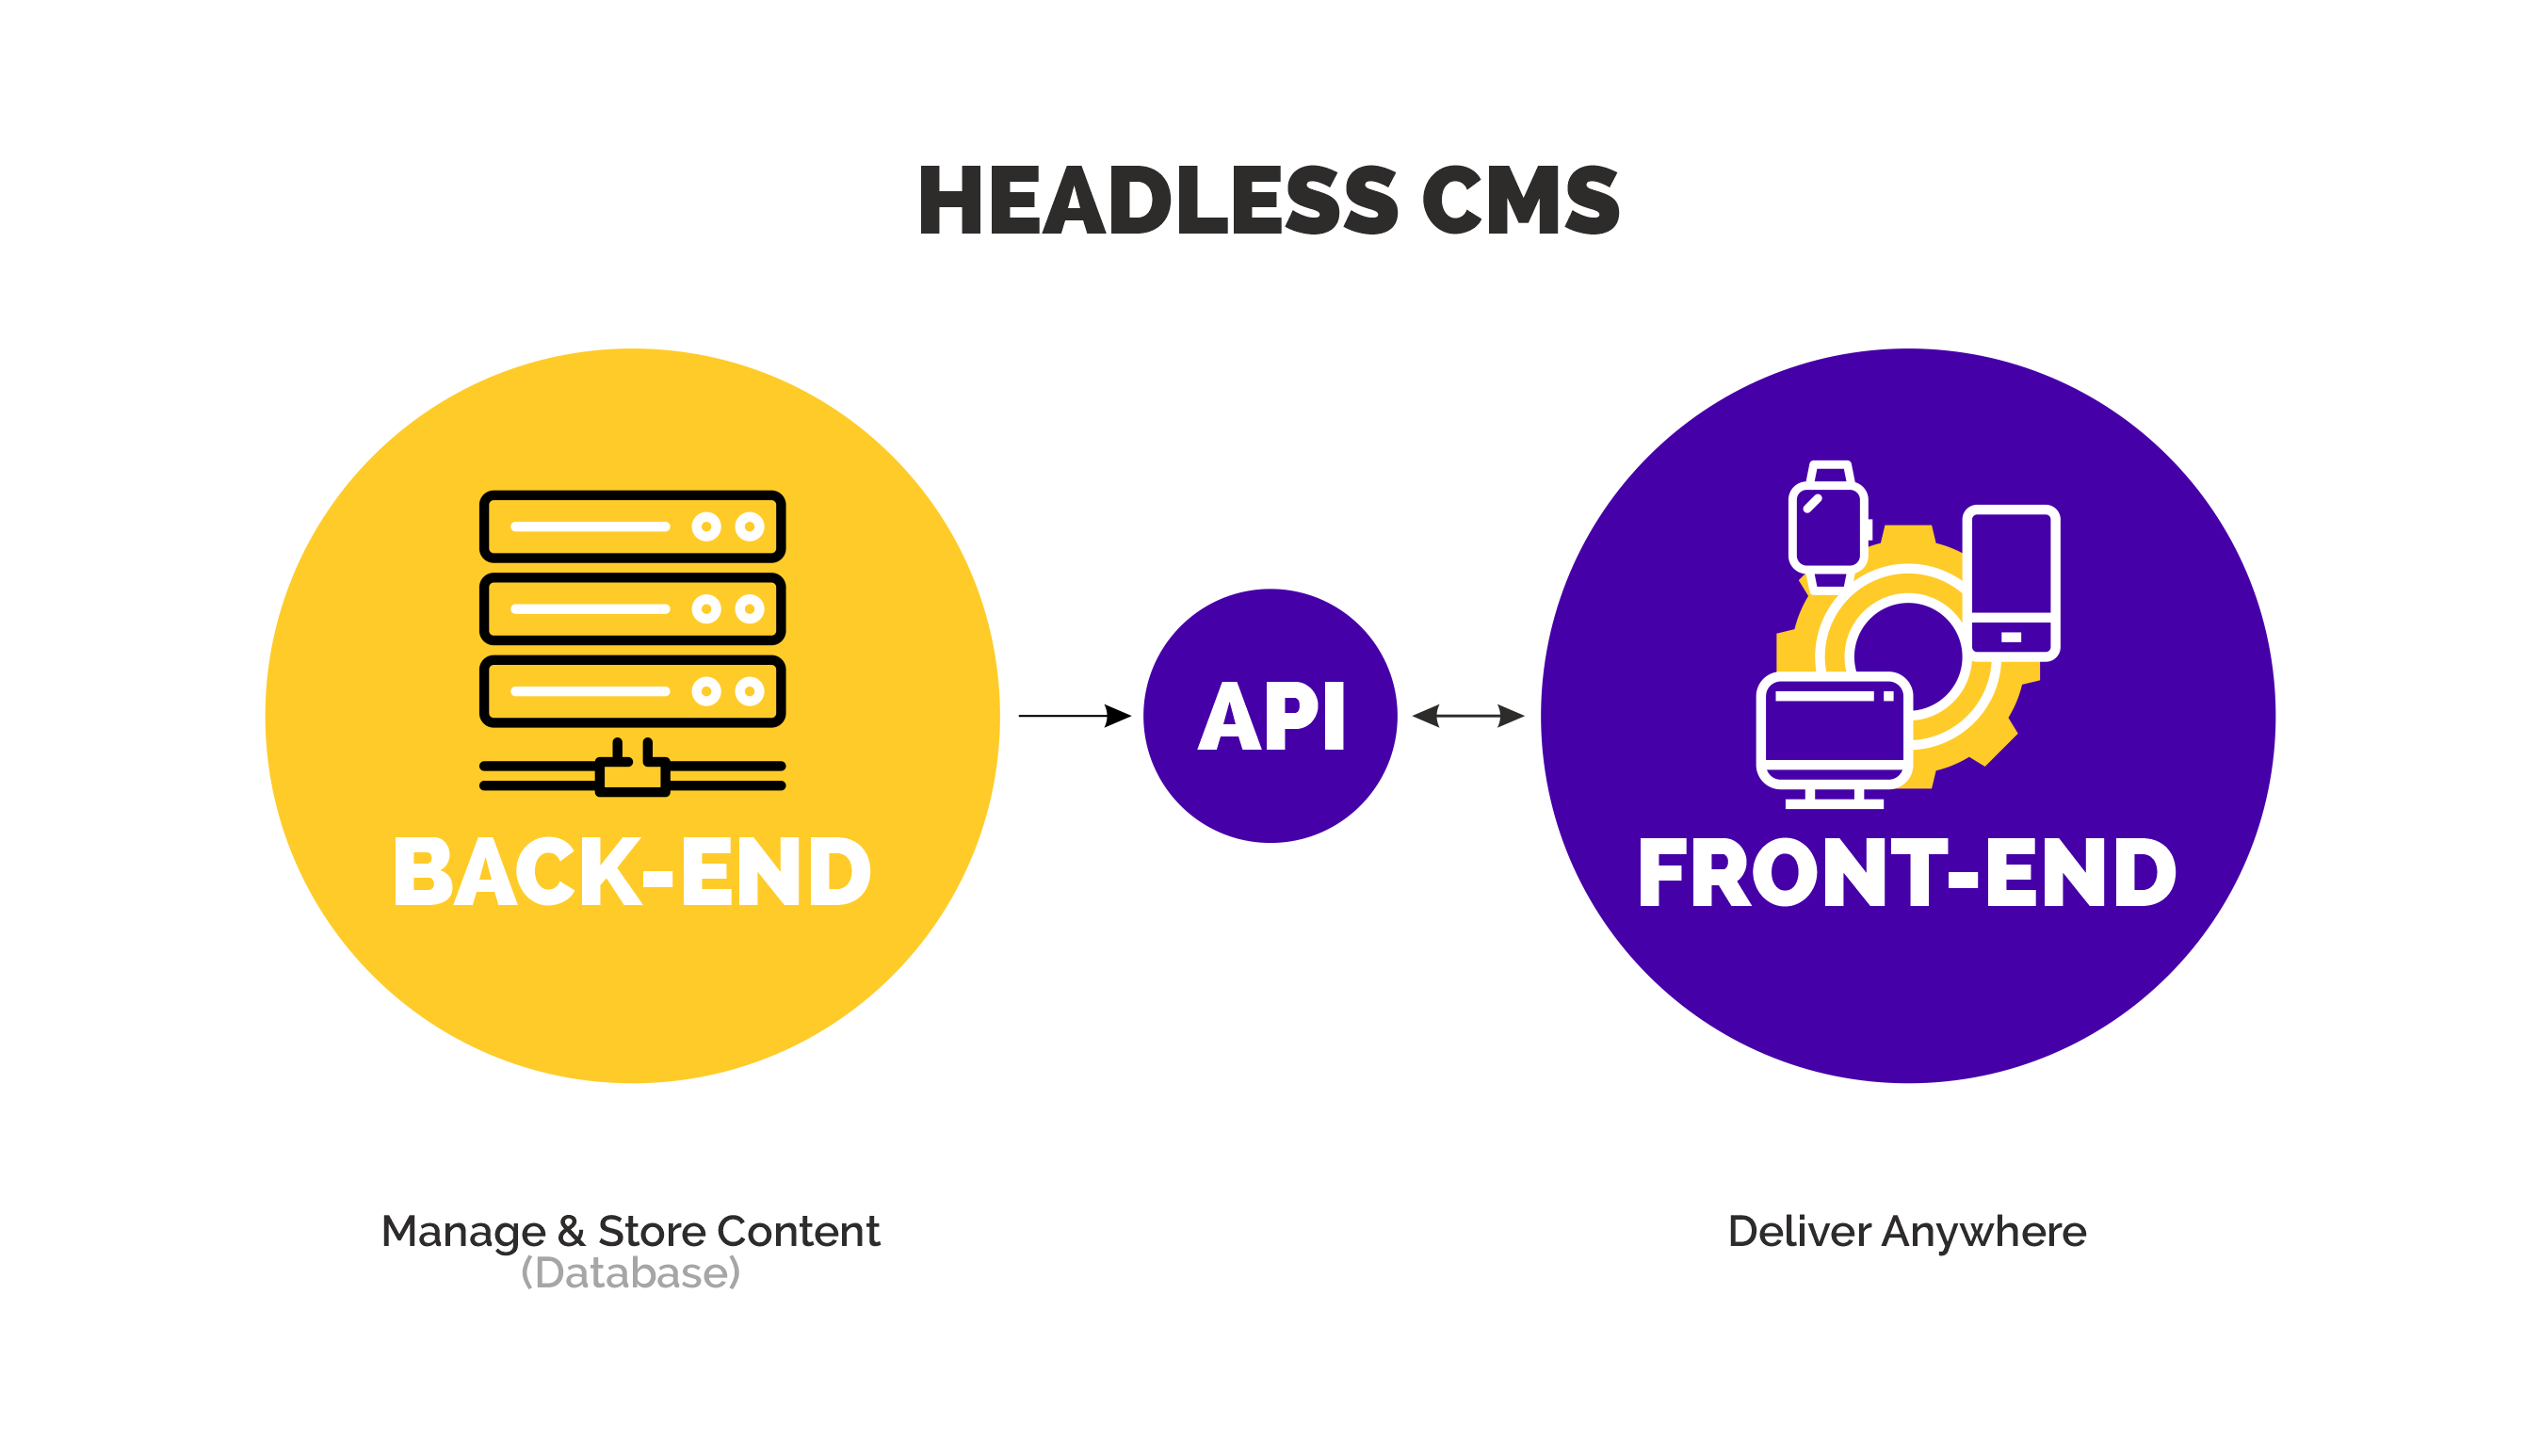
Simply put, headless means that you separate the backend and frontend parts of your web-application. By creating an API with endpoints that provides the data from your backend-models, you could have a different server running a web-application with Vue/React rendering that data as a separate frontend. One scenario could be that you would like to have both a website and an application running on both iOS and Android with the same content, then headless would be ideal for you: Having one place to edit your content which will then be displayed in all your channels at once.
So when would headless be a bad idea then? Well, if you are building a basic website with some different pages and a simple contact form, using headless could be a bit overhead. If that website would grow into a popular blog or if you would like to have an app running on iOS or Android as well, there is always the option to add API-endpoints later on. If you are building a frontend based on pure JavaScript, it could also be a problem with SEO, however, there seems to be a divided opinion regarding this, while some people claim Google can see what the browser sees, some people claim they do not.
Guide
In this guide, we will create a simple GraphQL-endpoint that will display your data. Note that we will not use the CMS part of Silverstripe, just the framework and admin parts. Start off by creating a new project with the following command in your terminal:
composer create-project silverstripe/recipe-core ss-graphql-guidethe installation could take a few minutes to complete. When the installation is completed, run the following command to add the admin part of silverstripe:
cd ss-graphql-guide and hit enter composer require silverstripe/admin.Open your newly created project in your favorite IDE and add a .env file to the project root, this will contain your database-information, copy the following into your .env file and replace "xxx" with your information:
Open your project in your favorite browser and add /dev/build at the end of the URL, this will create the necessary tables in your newly created database. Make sure there are no errors when /dev/build has finished loading. Change /dev/build to /admin in your browser and provide the details from your .env(SS_DEFAULT_ADMIN_USERNAME and SS_DEFAULT_ADMIN_PASSWORD) in the form, hit enter and you should see the Silverstripe-admin interface, similar to the following:

There are two vital Silverstripe-modules that we will need for this project, go back to your terminal and type in the following command:
composer require silverstripe/graphql --dev silverstripe/graphql-devtoolswhen the installation is completed, run another dev/build in your browser. After the dev/build is completed, go towards /dev/graphiql in your browser and you should see the following interface:

This is a UI where we can test our GraphQL-queries to make sure everything works as expected, but first, we need to expose our data to the GraphQL-endpoints, in this guide, we will use a simple DataObject called "BlogPost".
Head back to your editor, inside the /app/ folder of your project, add a new file called BlogPost.php with the following lines of code:
Add another file called BlogPostAdmin.php with the following code:
Run another dev/build and head back to /admin, you should now see a new menu-item called "Blogposts", add a few different dummy-posts, these will be needed for our queries to the endpoint later on.

Now that we have added our new object we will need to add two new files, firstly, add a new file called BlogPostTypeCreator.php and add the following code:
Types describe your data and GraphQL uses this information to validate queries:

Add another file called ReadBlogPostQueryCreator.php and add the following code:
Now that we have added our object, added the type and also exposing it to an endpoint, we need to update our mysite.yml with the following code:
Run another dev/build, when it is completed you can go back to /dev/graphiql and refresh the page. On the left side, add the following snippet:
Hit the play button and you should see a list of your created Blogposts from earlier:

You can also add /graphql/?query={readBlogPost{Title+Content}} in your browser and get the same result:

As of now, we are just returning all blogposts, with no filters available, lets add the possibility to add a filter by the title and content, where we use the SearchFilter Modifiers available in Silverstripe, in this example we will use the PartialMatchFilter. Update your ReadBlogPostQueryCreator.php by adding a new method called args:
Update your resolve-method to look like this:
With this updates to the files, we can now go back to /dev/graphiql and add the following query:
This will add a filter for the title, looking for any title that contains "Third". Since we have a blogpost with the title "Third Blogpost", this one should be returned:

Replace "Title" with "Content" and "Third" with any other word in your query, if there is a match, one or more blogposts will be returned based on the content instead.
That's it! You should now have a simple GraphQL-endpoint that exposes your content for queries. There is also funtionality for adding mutations, which means that you create data instead of reading it. There will be a guide for that in the future!
Happy coding!